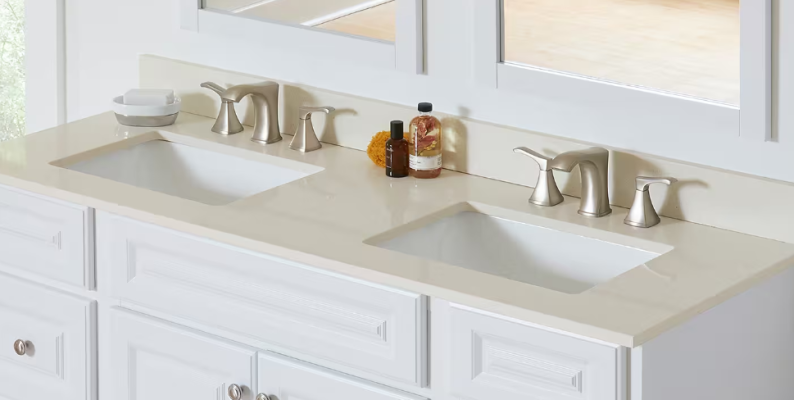
Painting Bathroom Countertops: A Step-by-Step Guide
Are you tired of your bathroom countertops looking outdated or worn? Painting bathroom countertops is a cost-effective and transformative way to refresh your space without the need for a full renovation. Whether you’re looking to change the color, add a new texture, or just give your old countertops a new lease on life, this guide will walk you through every step of the process. With a little patience and the right tools, you can achieve a beautiful, high-quality finish that will make your bathroom shine.
Why Paint Bathroom Countertops?
Painting bathroom countertops can seem like a daunting task, but it’s an excellent way to update your space on a budget. Unlike replacing countertops, which can be expensive and time-consuming, painting offers a quicker and more affordable solution. With a range of colors and finishes available, you can easily customize your look to suit your style. Plus, modern countertop paints are designed to withstand the wear and tear of daily use, making them a durable option for high-traffic areas.
Materials and Tools Needed
Before you dive into painting your bathroom countertops, it’s important to gather all the necessary materials and tools. Here’s what you’ll need:
- Countertop Paint: Choose a high-quality, durable paint specifically designed for countertops.
- Primer: A bonding primer will help the paint adhere better to your surface.
- Sandpaper: Medium-grit sandpaper (150-220 grit) to prepare the surface.
- Painter’s Tape: To mask off areas that should remain unpainted.
- Brushes and Rollers: Small brushes for edges and a roller for larger areas.
- Cleaner: To thoroughly clean the countertop before painting.
- Sealant: A clear sealant to protect the painted surface.
Having these items ready will ensure a smooth and efficient painting process.
Step 1: Prepare the Surface
Preparing the surface correctly is essential for achieving a high-quality, professional finish. Start by thoroughly cleaning the countertop with a degreaser or a mix of soap and water to remove any grime or residue. Once clean, use sandpaper to lightly scuff the surface. This improves the adhesion of both the primer and paint.. After sanding, wipe down the countertop with a damp cloth to remove dust and debris.
Next, use painter’s tape to mask off areas you don’t want to paint, such as the sink or backsplash. Ensure the tape is applied neatly to avoid any paint bleeding.
Step 2: Apply Primer
Priming your countertop helps create a smooth surface and improves paint adhesion. Apply a coat of bonding primer with a brush or roller, making sure to cover all areas evenly. Allow the primer to dry completely as per the manufacturer’s instructions. Drying times can vary, but it’s important to ensure that the primer is fully cured before proceeding to the next step. This might take several hours or overnight.
Step 3: Paint the Countertops
After the primer has dried, you can begin applying the paint. Stir the countertop paint thoroughly before use. Apply the paint in thin, even coats using a roller for larger areas and a brush for edges and corners. For optimal results, carefully adhere to the manufacturer’s application guidelines. Generally, you’ll need to apply two to three coats of paint, allowing each coat to dry fully before applying the next. This ensures a smooth, even finish.
Step 4: Add Texture or Design (Optional)
If you want to add a unique touch to your countertops, consider incorporating textures or designs. For example, you can use a sponge to create a faux granite effect or add decorative flecks for a speckled look. To do this, apply a base coat of paint, then use a sponge or brush to add additional colors or textures while the base coat is still wet. Experiment on a small area first to make sure you like the effect before applying it to the entire surface.
Step 5: Seal the Paint
To protect your newly painted countertops from stains, scratches, and moisture, applying a clear sealant is essential. Choose a high-quality, non-yellowing sealant designed for countertops. Apply it according to the manufacturer’s instructions, usually with a clean brush or roller. Make sure to cover the entire surface evenly. Let the sealant dry fully before using the countertops. This ensures the paint job remains durable and lasts longer.
Maintenance and Care Tips
Once your painted countertops are fully cured and sealed, maintaining them is key to keeping them looking fresh. Steer clear of harsh chemicals and abrasive cleaners, as they may harm the paint. Instead, clean your countertops with a mild, non-abrasive cleaner and a soft cloth. Wipe up spills promptly to prevent staining, and use coasters and cutting boards to protect the surface from potential damage.
Regular maintenance will help extend the life of your painted countertops and keep your bathroom looking beautiful.
Final Word
Painting bathroom countertops can be a rewarding DIY project that transforms the look of your space. By following these steps and taking your time to prepare and paint properly, you can achieve a stunning result that rivals professional finishes. So gather your materials, get ready to roll up your sleeves, and give your bathroom a fresh, new look that you’ll enjoy for years to come!

